

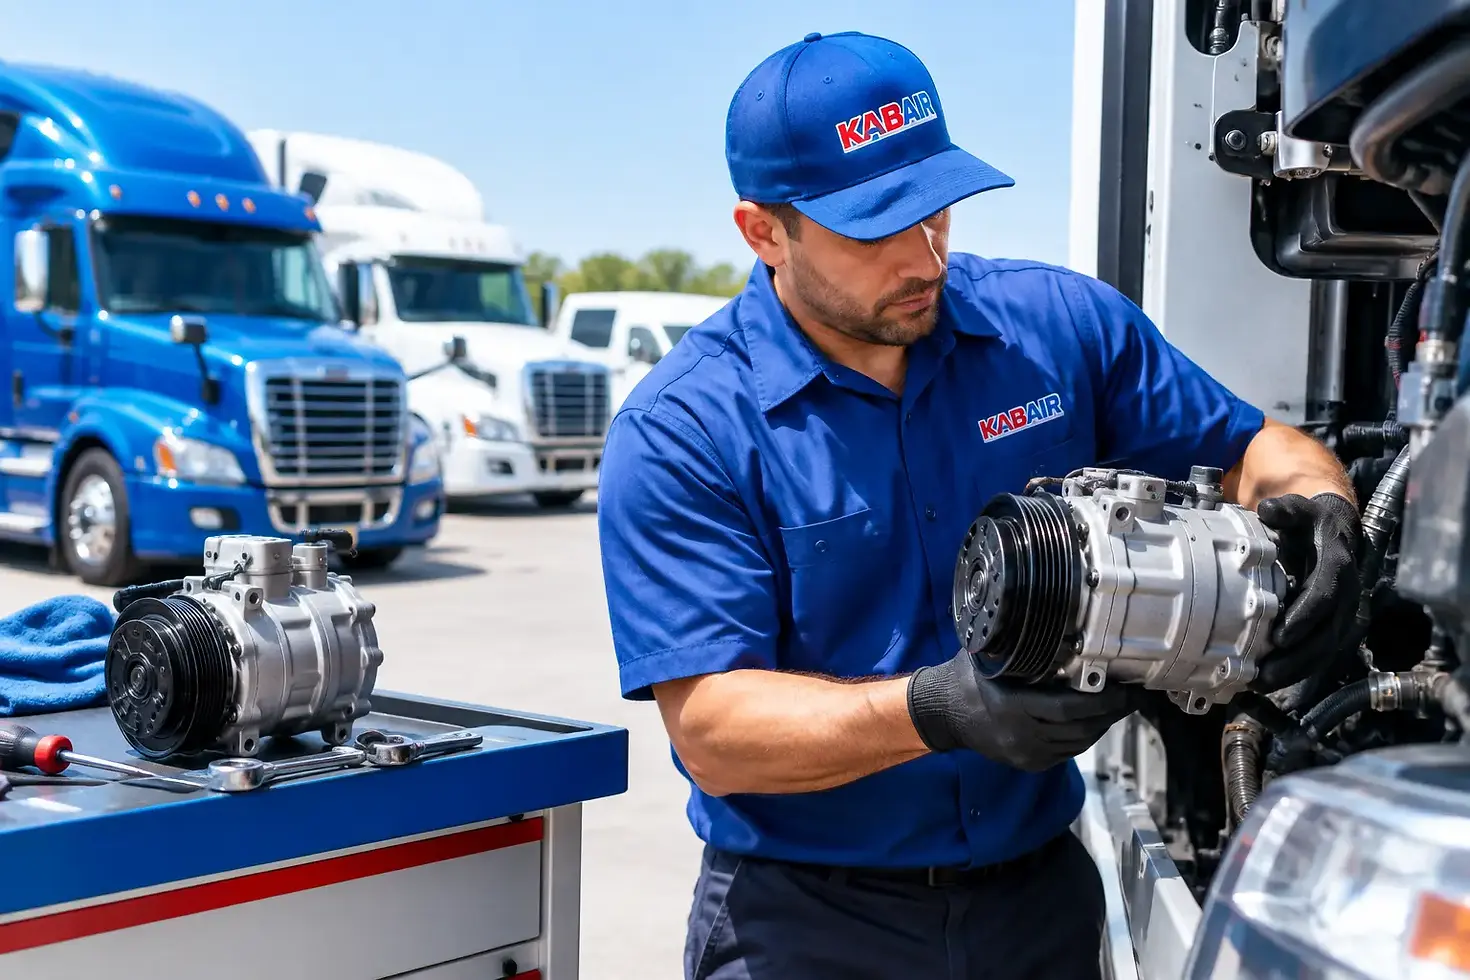
Vehicle Compressor Replacement Guide for Fleets

A seized compressor can put a truck, reefer trailer, shuttle bus, or service van out of operation quickly. But the compressor itself is often only part of the failure. This vehicle compressor replacement guide helps fleet operators, technicians, and equipment owners identify the right replacement path while avoiding contamination, electrical, and fitment problems that can damage a new unit.
Whether the application is vehicle air conditioning, transport refrigeration, an auxiliary cooling system, or a mobile HVAC/R installation, replacement starts with accurate identification. A compressor that looks similar, has the same mounting pattern, or uses the same belt arrangement may still be the wrong part for the system.
Confirm What Compressor You Are Replacing
Start with the compressor label and the equipment information, not the vehicle description alone. Record the compressor manufacturer and model, OEM part number, serial number where available, refrigerant designation, pulley or clutch details, mounting configuration, port style, and electrical connections. For electrically driven compressors, record voltage, connector type, control method, and any controller or inverter information.
The vehicle and equipment model also matter. A cargo van may have a factory front A/C compressor, a separate rooftop auxiliary unit, and a refrigeration system with different compressor requirements. A truck can have an engine-driven compressor for cab cooling and an independent refrigeration compressor serving the cargo box. Treat each circuit as its own system.
For belt-driven units, verify pulley groove count, pulley diameter, belt alignment, clutch voltage, mounting ear geometry, suction and discharge port position, and hose connection type. A mismatch can create belt wear, hose interference, poor clutch operation, or an installation that cannot be completed without modifications.
For transport refrigeration and mobile HVAC/R equipment, confirm the exact unit model and system configuration. Compressor displacement, operating range, refrigerant compatibility, oil type, electrical supply, and capacity requirements must match the equipment design. Never select a compressor based only on physical dimensions or a general capacity estimate.
Diagnose the Failure Before Ordering
Replacing a compressor without identifying why it failed can turn one repair into two. The original failure may be mechanical, electrical, lubrication-related, or caused by another restriction or control issue in the system.
A compressor that will not engage may have a failed clutch coil, blown fuse, pressure-switch fault, damaged wiring, low refrigerant charge, control-module command issue, or failed relay. Replacing the complete compressor before testing these conditions may be unnecessary. On variable-displacement and electronically controlled systems, a control valve or communication fault can also mimic compressor failure.
If the compressor has locked up, is noisy, or has released debris into the circuit, the repair scope changes. Metallic debris can travel through hoses, condensers, valves, and evaporators. Restrictions can starve the replacement compressor of refrigerant and oil return. Moisture introduced during a previous repair can contribute to corrosion, acid formation, and component damage.
A qualified technician should inspect recovered oil, evaluate contamination, check system pressures and controls, and determine whether flushing is appropriate for the system design. Some components cannot be effectively flushed and may require replacement. Manufacturer procedures should determine the correct approach.
Vehicle Compressor Replacement Guide: Match the Technical Details
A correct replacement is a compatibility decision, not a visual match. Use the original compressor data and the equipment manufacturer’s requirements to compare the replacement unit.
The main technical checks include:
Refrigerant compatibility and approved oil type
Compressor style, displacement, and intended operating range
Mounting pattern, shaft or pulley arrangement, and clutch specifications
Suction and discharge port location, fitting style, and port size
Electrical voltage, connector design, control valve, and clutch circuit requirements
Approved vehicle, HVAC unit, or refrigeration-equipment application
Oil deserves particular attention. Different compressor designs and refrigerants may require specific oil formulations and quantities. Too little oil can cause rapid wear. Too much oil can reduce cooling performance and interfere with proper refrigerant circulation. Oil balance must be managed according to the system procedure, not guessed from the amount found in the removed compressor.
Refrigerant is equally application-specific. Do not assume a replacement compressor can be used across refrigerant types without confirmed approval. Retrofitting or converting a vehicle climate-control or refrigeration system can involve component, lubricant, labeling, charge, and regulatory considerations. It should be planned and performed by qualified HVAC/R personnel.
Plan the Supporting Parts, Not Just the Compressor
A compressor replacement may require more than a compressor. The supporting parts depend on failure mode, equipment design, and manufacturer instructions. Common service items include a receiver-drier or accumulator, expansion device or orifice tube where applicable, seals, gaskets, O-rings, filter-driers, pressure switches, wiring repairs, belts, and clutch-related components.
When contamination is confirmed, the condenser, hoses, evaporator, oil separator, suction filter, and other circuit components must be evaluated. Parallel-flow condensers and compact heat exchangers can be difficult to clean thoroughly after a major internal failure. Reusing a contaminated component can introduce debris into the replacement compressor shortly after startup.
For a fleet, this is where repair documentation has real value. Record the suspected cause, recovered refrigerant condition, oil appearance, components replaced, system repairs performed, and final operational readings. A consistent record helps identify repeat patterns across similar units and supports more informed maintenance decisions.
Installation Work Requires Controlled Procedures
Compressor replacement involves refrigerant recovery, pressurized components, lubricants, electrical circuits, and often limited access around engine compartments or equipment enclosures. The work should be completed by trained technicians using appropriate recovery equipment, vacuum equipment, leak-testing procedures, and manufacturer service information.
Before installation, inspect the replacement compressor for shipping damage and confirm that it matches the order and application. Keep fittings capped until assembly to limit moisture entry. Install new seals only where specified, using the approved lubricant and correct installation method. Overtightened fittings, damaged sealing surfaces, and incorrect O-ring material are frequent causes of post-repair leaks.
Once the system is assembled, it must be leak tested, evacuated, and charged according to the equipment manufacturer’s procedure. Charge quantity is not a place for approximation. An undercharged system may have poor capacity and insufficient compressor cooling or oil return. An overcharged system can create excessive pressures and poor performance.
After startup, verify clutch or control operation, operating pressures, vent or supply-air performance as applicable, fan operation, belt tracking, electrical draw where relevant, and signs of leakage or abnormal noise. On refrigeration equipment, verify that the unit cycles and controls temperature as intended under suitable test conditions.
Common Replacement Mistakes That Create Repeat Failures
The most expensive compressor replacement is often the one performed twice. One common mistake is ordering by vehicle year, make, and model without confirming the installed system. Commercial vehicles, RVs, buses, and specialty builds frequently have optional equipment, upfit systems, or prior repairs that change the correct part.
Another mistake is replacing the compressor after a catastrophic failure while leaving the source of contamination in the circuit. A third is treating an electrical no-engagement complaint as proof of a failed compressor. Finally, technicians sometimes overlook airflow problems. A weak condenser fan, blocked heat exchanger, damaged shroud, or poor engine-cooling performance can raise head pressure and place unnecessary load on the compressor.
Source by Part Number and Application Details
Fast ordering is useful only when the part is right. When requesting a replacement, provide the OEM number or compressor label data along with vehicle or equipment model, refrigerant, voltage, mounting information, and clear photos when available. If the original part is unavailable, cross-reference options should be verified for technical equivalence and installation requirements.
KABAIR supports customers across North America with mobile climate-control, refrigeration, heating, and replacement-part sourcing for commercial vehicles and specialty applications. For difficult replacements, accurate identification information helps narrow the options before a technician commits time to installation.
A compressor replacement should restore dependable operation, not simply get the vehicle out of the bay. Verify the system, identify the root cause, match the component precisely, and give the supporting parts the same attention as the compressor itself.


Comments